You can add Libraries and npm packages (client and server side) to your project by going to the Dependencies page:
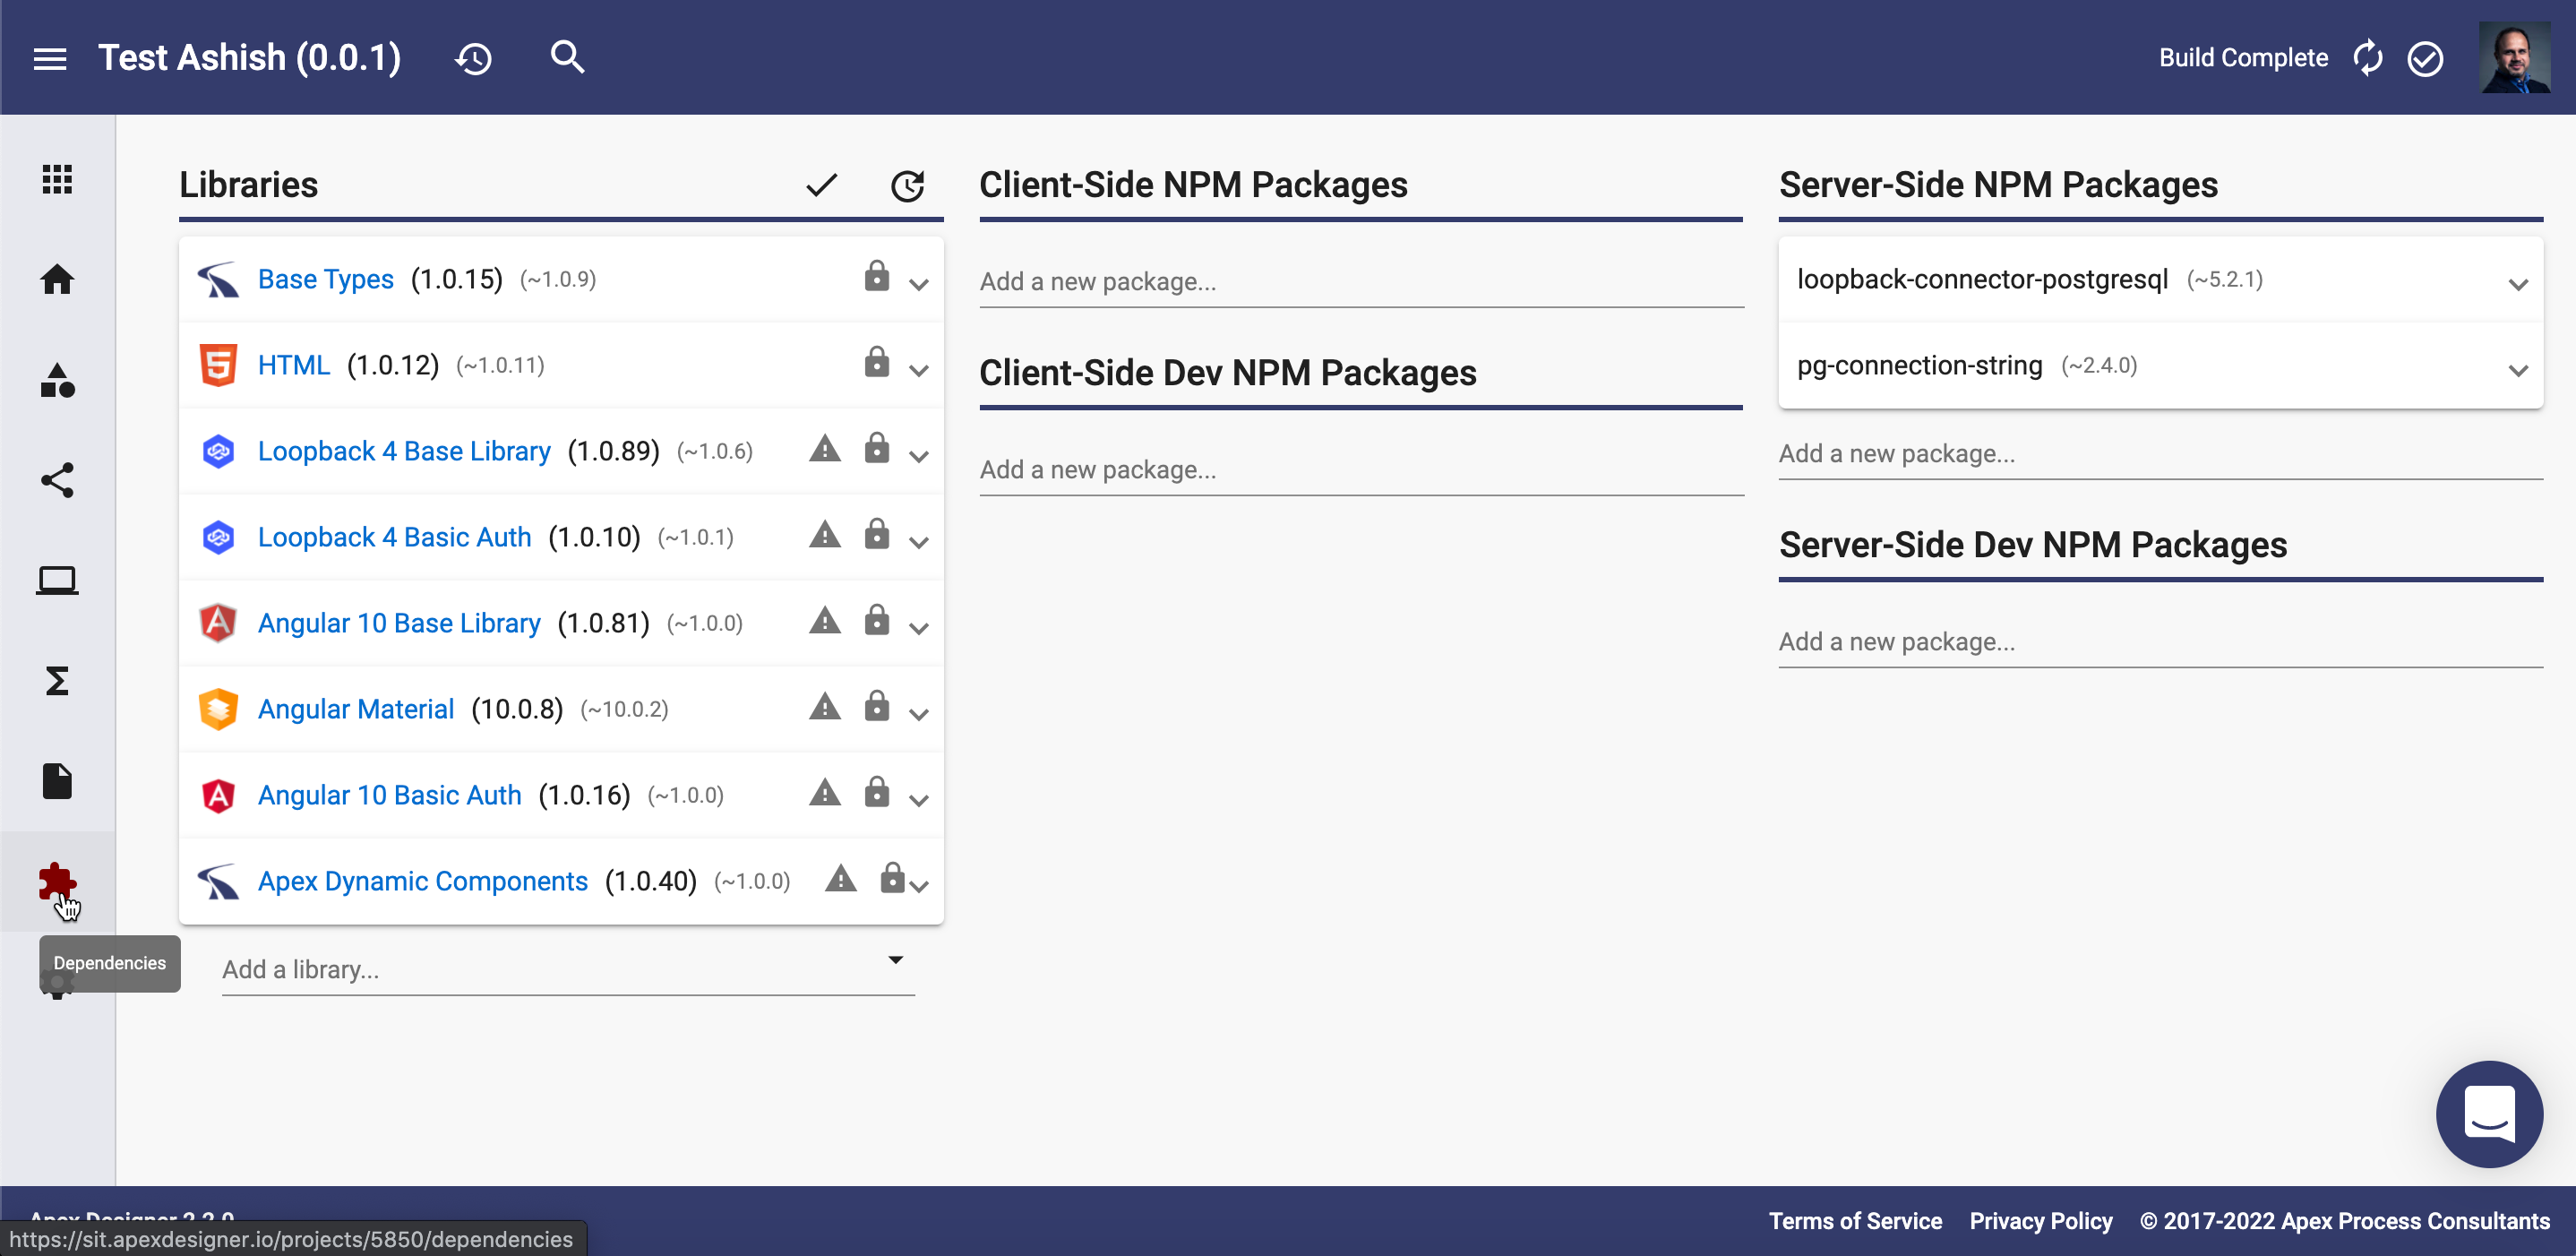
Libraries
When you add a library, by default it picks up the latest version of the library but you can manually set the version range as needed: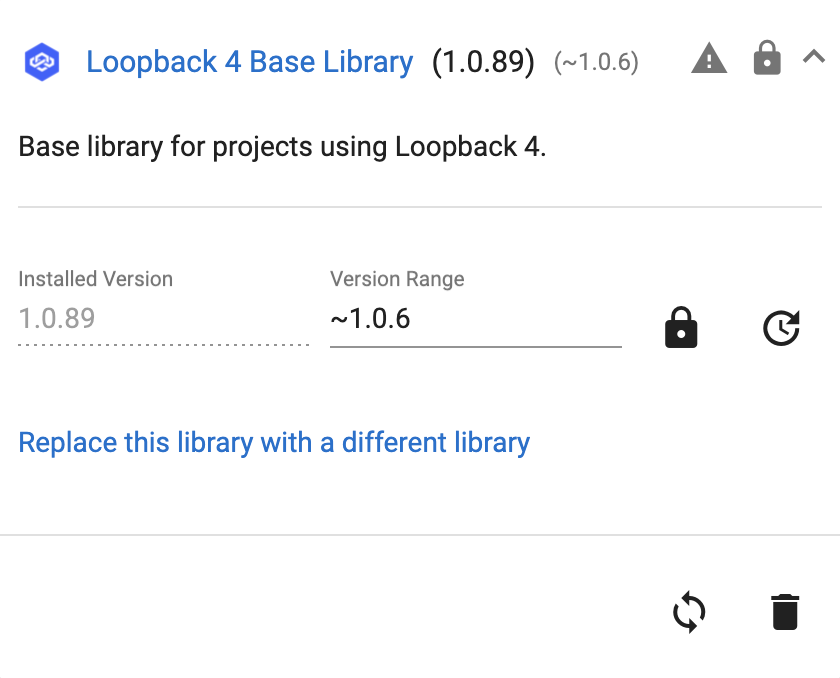
- ~version: “Approximately equivalent to version”, will update you to all future patch versions, without incrementing the minor version. ~1.2.3 will use releases from 1.2.3 to <1.3.0.
- ^version: “Compatible with version”, will update you to all future minor/patch versions, without incrementing the major version. ^2.3.4 will use releases from 2.3.4 to <3.0.0.
icon indicates availability of any newer version.
icon on the Version Range indicates that only locked versions can be used in your project.
icon on the Version Range indicates that unlocked versions can be used in your project. When unlocked, you have an option to Auto-generate your project when the library is generated.
icon allows you to apply the version range of the library
You can click on "Replace this library with a different library" and pick a different library, if needed. All the elements in your project from the old library will now refer to the newly selected library.
Library Order
If a library X has another library Y as its dependency, and you add library X before Y, Apex Designer will thrown an error for you to fix the order:
![]()
NPM Dependencies
When you start typing the name of any npm package, the typeahead pulls up a list of all of the matching npm packages for you to choose from.
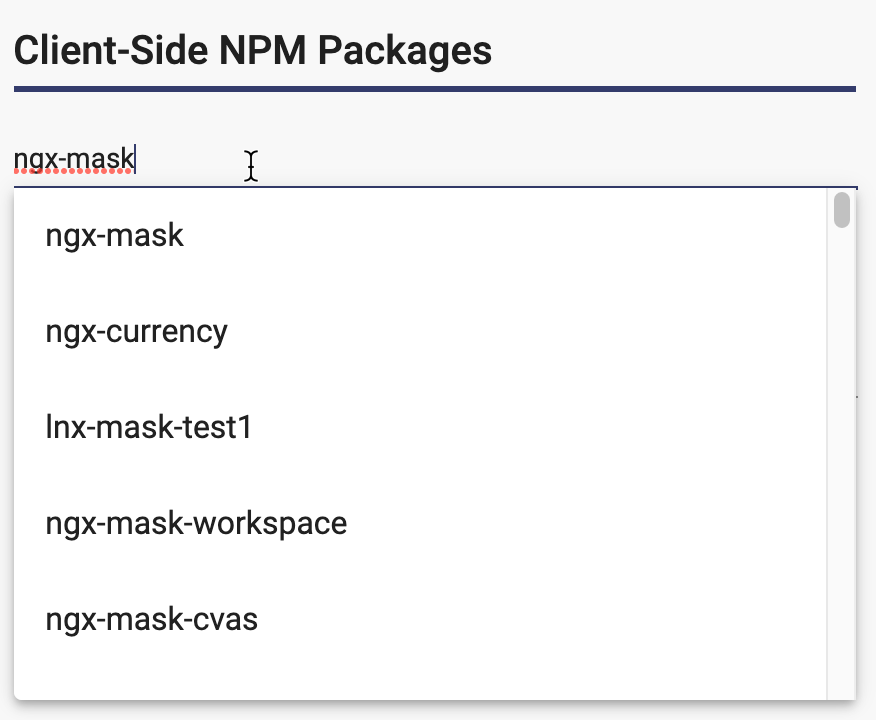
When you select an npm package from the typeahead options, it automatically assigns the latest version to it. You can edit the version, if needed.
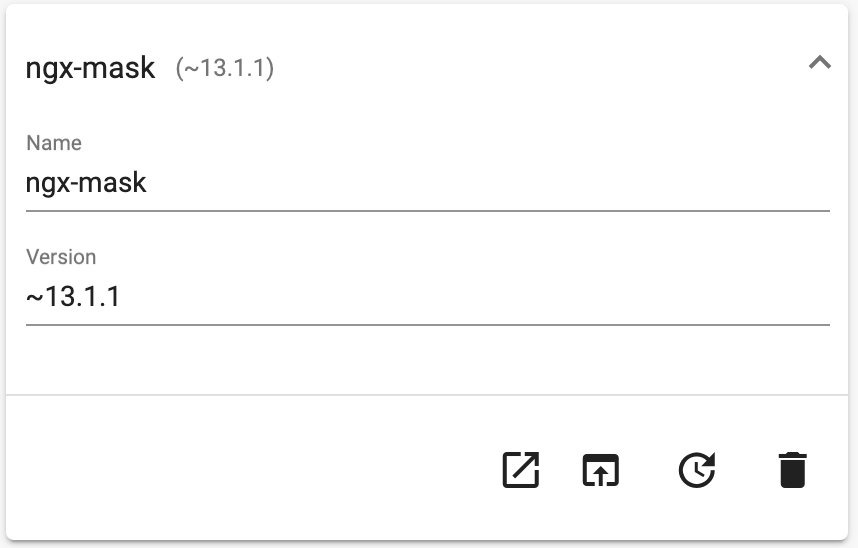
Configure the package
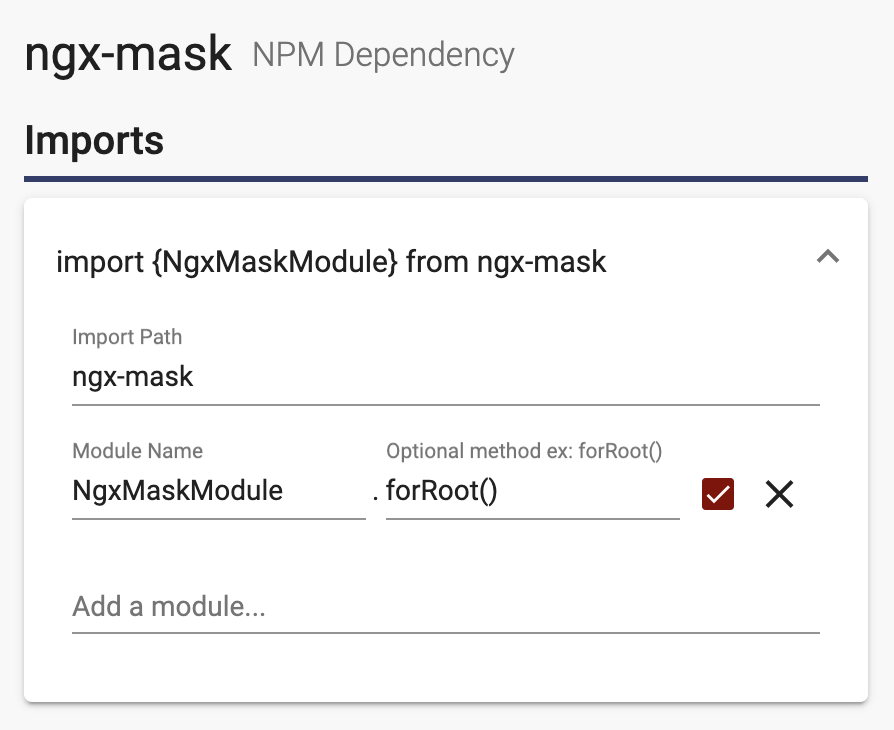
As per the ngx-mask documentation, this is the config option that you need:
@NgModule({
  imports: [
    NgxMaskModule.forRoot(),
  ],
})
You can add the above config option by clicking and then adding the config like this:
Open the package
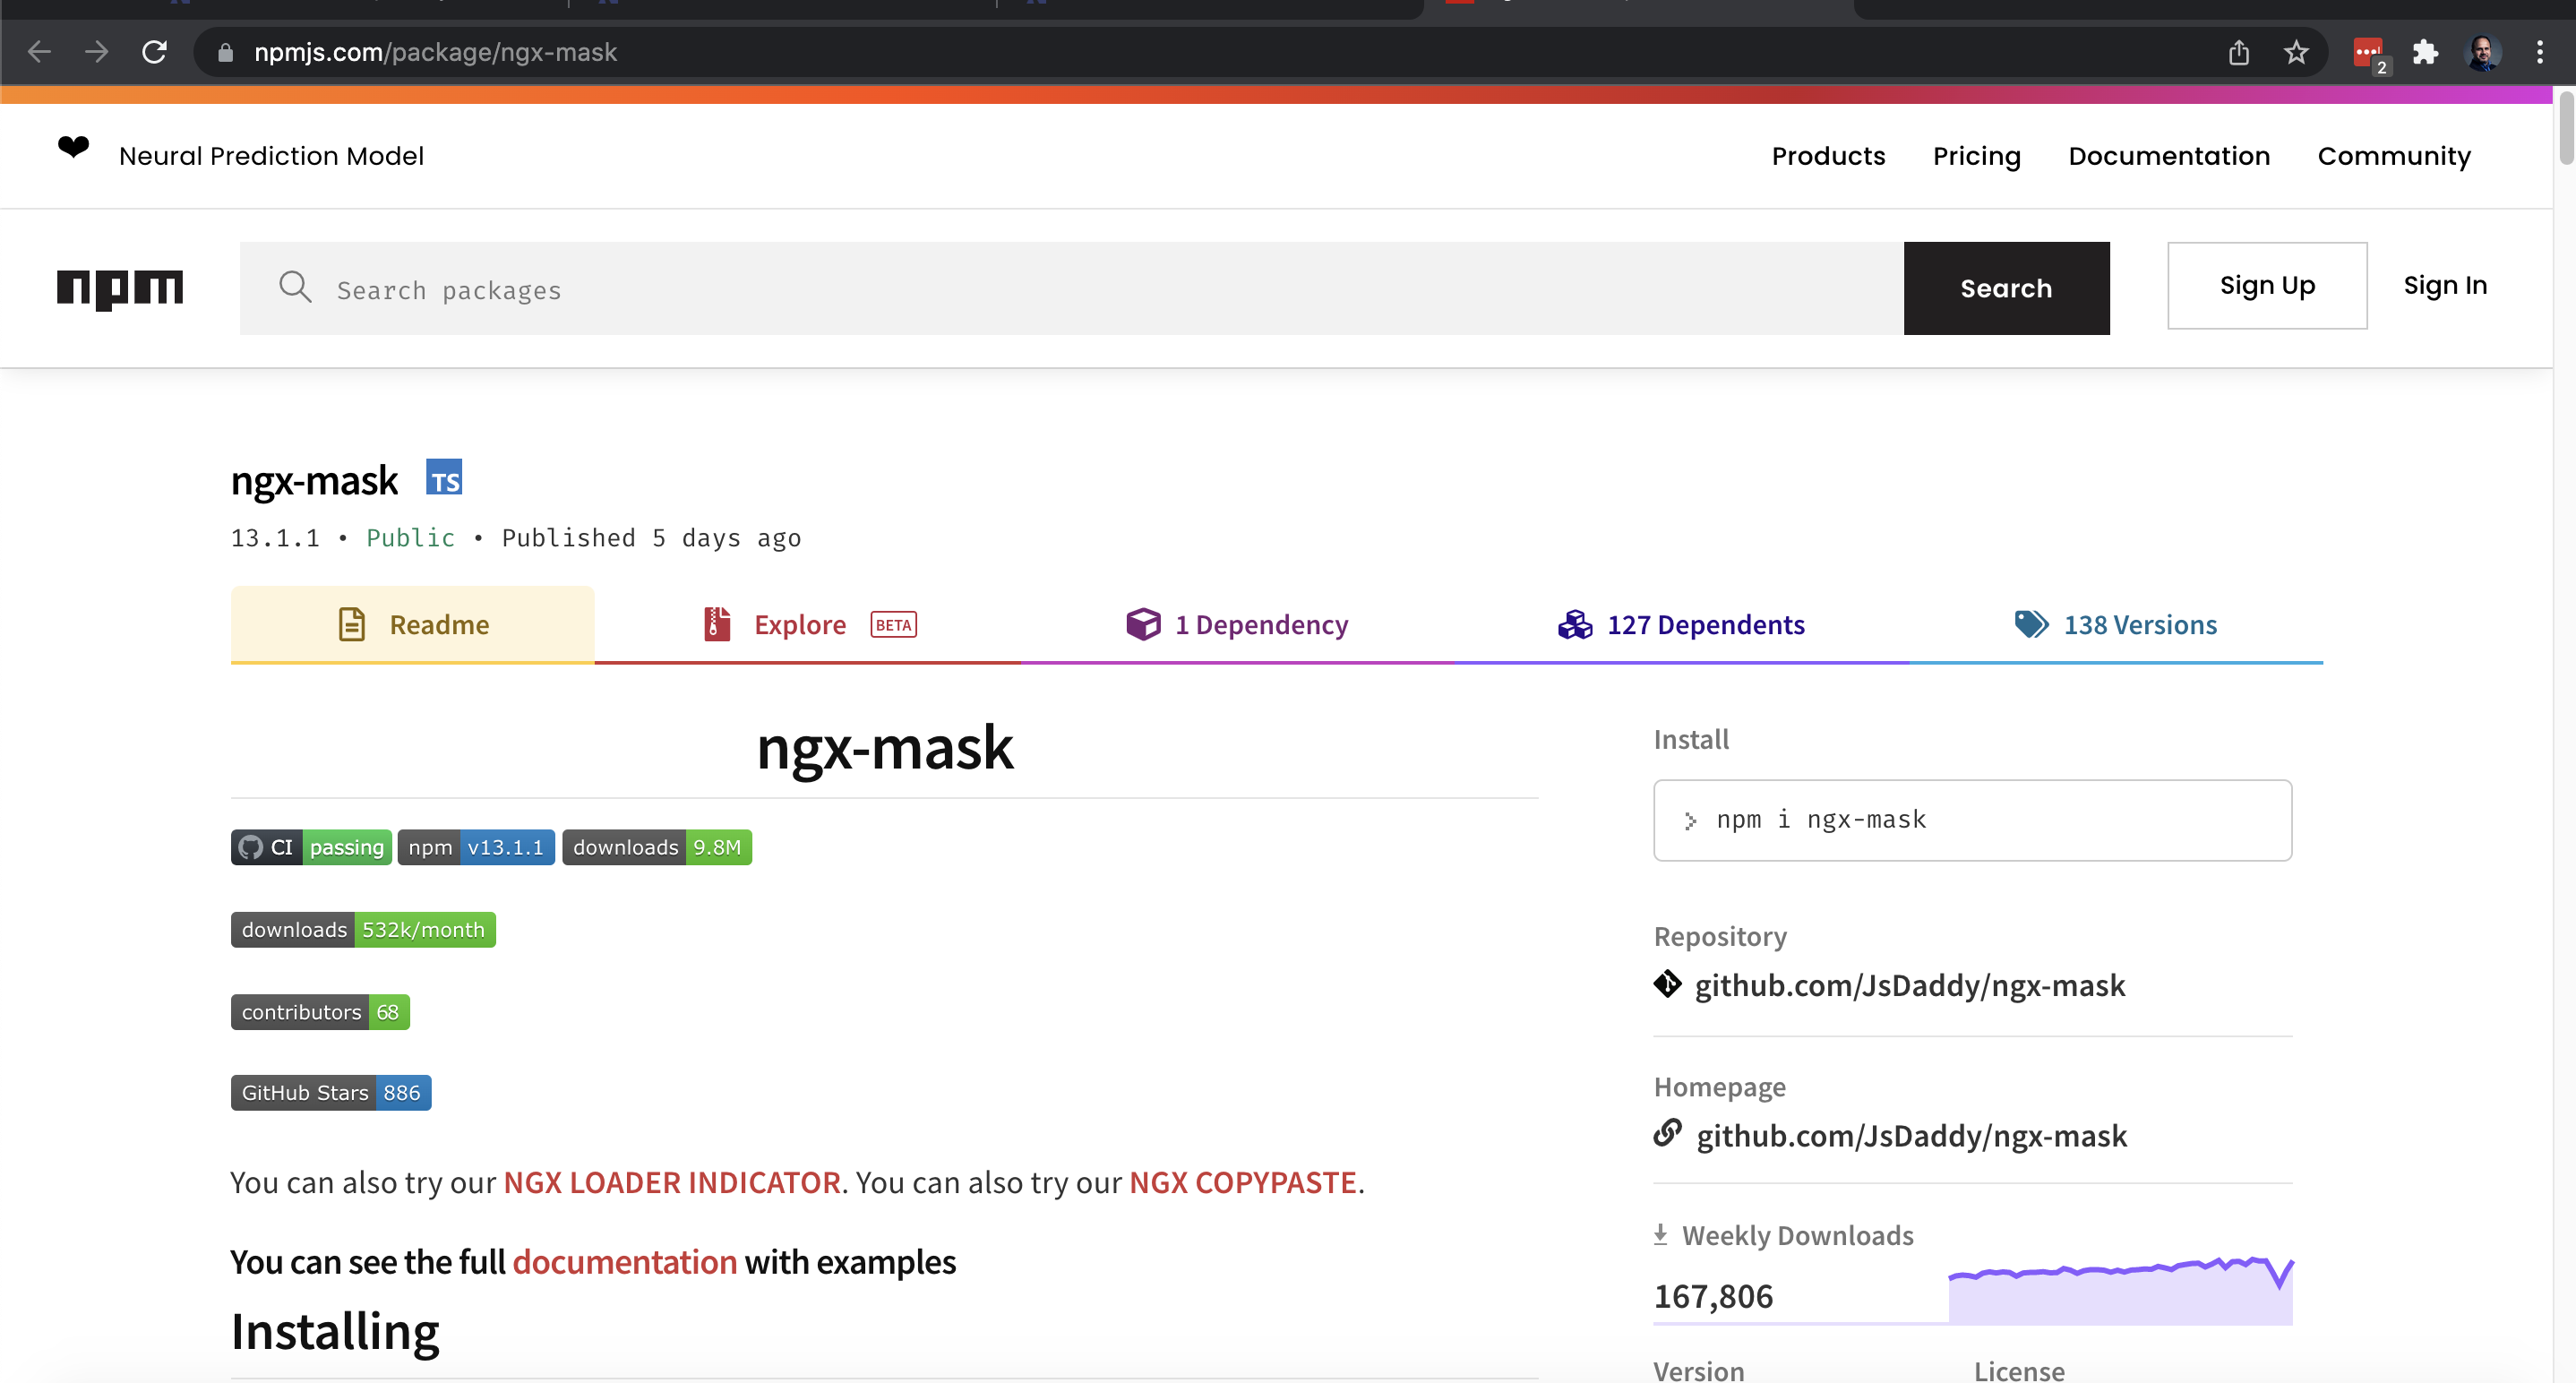
You can click to go to the package url:
